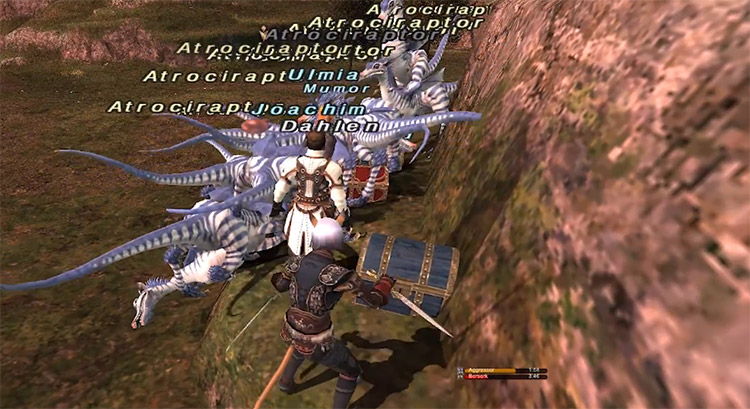
Despite its age, Vana’diel is still brimming with life from adventurers new and old. In more recent years, the game has largely toned its steep difficulty curve down, allowing it to be much more accessible for players looking to take the plunge. This list aims to help any would-be adventurers—whether returning or just starting—so they can get into the groove a bit easier.
10. Get used to changing your jobs
Jobs form the backbone of your stay in Vana’diel. And they alter your role in combat drastically. Over the years, Vana’diel has seen many balance changes and new jobs. It’s not very likely that you’ll be able to stick to one job forever, as the game incentivizes players to level multiple jobs. So be sure to find some that resonate with you! There’s a myriad of jobs out there—22 to be exact—each with their own strengths, weaknesses and style of play. Many of those jobs will need to be unlocked, and starting from level 30, you’re able to do so. So take a peek and check out your options in advance.
9. Sub jobs are very important
The other very important reason to level multiple jobs is that they can also function as a support job. Sub jobs form the second half of a player’s role in combat, with their levels being set to half of their main job’s level. Be sure to keep them updated! There are technically two ways to unlock a sub job in the game, but the player must be at least level 18 to unlock the system overall. Then they’d speak to either Isacio, (G-10) in Selbina or Vera in Mhaura, (G-10) and complete a quest. It’s highly recommended to begin completing the “Rhapsodies of Vana’diel” storyline prior to doing this. Read the “Rhapsodies of Vana’diel” tip further down on this list for more information!
8. Learn about “job synergy”
The correct main and support jobs can mean the difference between succeeding and losing a particular fight. For support jobs in particular, you gain every ability, trait, or spell up to its relative level. Here’s a general list of all jobs and how they fall into a category of roles: Damage Dealers (DD): Monk, Black Mage, Thief, Dark Knight, Ranger, Samurai, Beastmaster, Summoner, Dragoon, Ninja Healers: White Mage Tanks: Warrior, Paladin, Rune Fencer Support: Bard, Corsair, Scholar, Geomancer All Rounders: Red Mage, Dancer, Blue Mage, Puppetmaster Many jobs can fulfill different roles depending on the situation of a fight, style of play, gear equipped, or sub job. So try out different mixes and see what you like best.
7. Socialize and team up
It’s true that you don’t need to team up nearly as much for fights or experience points, specifically thanks to the various quality-of-life improvements that Square-Enix has added into FFXI over the years. But it’s still a multiplayer experience at its core. And it’s one that’s best experienced with company. It can be with friends that you know, or players using Linkshells (FFXI’s version of guilds). Either way, don’t be afraid to be social. Finding a good social Linkshell can sweeten up your experience, and there’s plenty to be found among other players!
6. Minimize all that running around
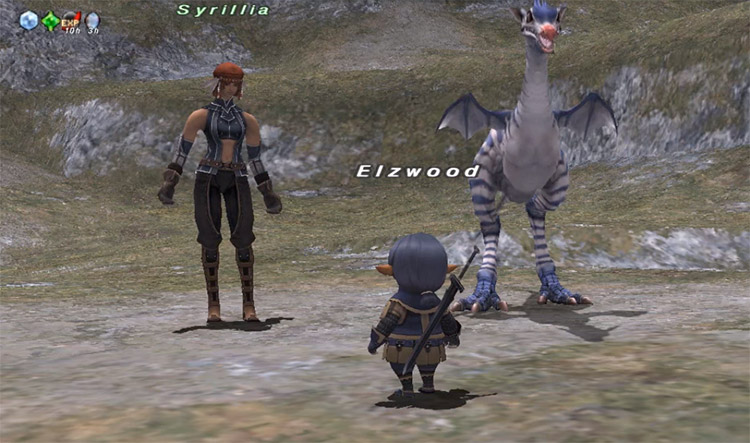
It’s infamously known that traversing the world of FFXI was rigorous back in the day. Sometimes it would take 20 real-life minutes just to cross a single area! Luckily, travelling has been vastly improved, and is quite instantaneous now. One of the easiest ways to travel around Vana’diel is via crystals. You can hardly miss them. They’re giant blue rotating jewels that have a distinct humming sound. You can also easily spot them in icon form if you happen to own a map of the area. Whenever you see one, make sure you touch it to permanently unlock that crystal and be able to teleport to it at any time (for a small fee). You may also be asked to set it as your home point. Home points are destinations that players can select to return to if they happen to die, so it’s worth setting one in a city. A similar system exists in the form of Survival Guides. They can easily be spotted in similar ways to crystals, but they instead take the form of enigmatic floating books. Like crystals, you can unlock permanent teleportation to them by touching them for the first time. FFXI also now features a mount system, allowing players to saddle up on the field. Mounts are first unlocked by speaking to Brutus twice in Upper Jeuno, (G-7) at level 20 or higher to complete the quest “Chocobo’s Wounds”. Once done, you can then speak to Mapitoto, also stationed at Upper Jeuno (G-7) to complete the additional quest “Full Speed Ahead”.
5. Use the Records of Eminence System
The Records of Eminence system (RoE) is one of the best systems that FFXI could offer for new players, though it benefits returners greatly too. These initially serve as the game’s tutorial, but also lead into other often-repeatable objectives. These other repeatable tasks might be killing a certain amount of enemies a number of times, or doing more than 500 damage in a single attack for experience points (and other rewards). Oh and don’t worry, the requirements for one-time objectives are met retroactively, meaning you can come back at any time and accept them to get rewards instantly. Handy for bumping lower level jobs! Players may initiate this system by opening the Quest menu, selecting Records of Eminence, Tutorial, and finally “Basics”. From there, choose to activate “First Step Forward”. Finally, talk to one of the NPCs below: Rolandienne at Southern San d’Oria, (G-10) Isakoth at Bastok Markets, (E-11) Fhelm Jobeizat at Windurst Woods, (J-10) Eternal Flame at Western Adoulin, (H-11)
4. Use Sparks to generate money
Sparks of Eminence are awarded by completing RoE objectives, and can be exchanged for equipment from the aforementioned NPCs to sell at a shop. There’s a 100,000 sparks total exchange limit per real-life week, so make sure you plan accordingly! Below is the most efficient equipment to buy: Mars’ Hexagun (340 sparks), sells for around 3,400 gil Flame Degen (480 sparks), sells for around 4,800 gil Acheron Shield (2,755 sparks), sells for around 26,500 gil
3. Follow the “Rhapsodies of Vana’diel” storyline
Often abbreviated as RoV, Rhapsodies of Vana’diel is essentially a storyline that connects all of the game’s other storylines into one overarching plot. It gently guides you through them all, giving clear goals to work towards as you take the journey from level 1 to 99. The questline begins as soon as you enter any of the three starting cities—San D’Oria, Bastok, or Windurst. So there’s no way you can miss it! It is also highly recommended that you complete the missions in this story as you progress. It offers rewards with important key items that negate a large portion of the tedium within the game. That way you can progress much faster and more smoothly.
2. Use the Curio Vendor Moogles, kupo!
These cute little recurring Final Fantasy mascots can be seen hovering around the main provinces, and are often easy to miss despite their immense usefulness. Their wares increase based on how many of those precious Rhapsody key items you have, so be sure to return to them often! The Curio Vendor Moogles sell a wide range of items far cheaper than the shops, or from NPCs, or on the auction house. More notably, these Moogles also sell scrolls of instant Warp and instant Reraise, both of which will become your best friends. The instant Warp allows you to return to your home point, while instant Reraise will allow you to instantly resurrect if you die. You can find Curio Vendor Moogles at: Port San d’Oria, (J-9) Port Bastok, (K-13) Port Windurst, (M-4)
1. Use Trust magic
The Trust (alternatively called Alter Ego) system lets you fight alongside AI-controlled NPCs by summoning them in battle. In the earlier days of FFXI’s lifespan, you were forced to routinely team up to fight difficult enemies with other players. This often meant sitting around for long periods of time to gain a party, and even then, there wasn’t any guarantee of success. And this time eater has now been eliminated thanks to the Trust system. A single player can summon an army of their favorite NPCS from all over Vana’diel – including ones from the story, complete with their own jobs, abilities, and quotes! To get started with the trust system, you’ll first have to reach level 5, and complete a quest by talking to one of three NPCs. It’s gonna be easier to reach them based on your starting city: Gondebaud at Southern San d’Oria, (L-6) Clarion Star at Port Bastok, (K-7) Wetata at Windurst Woods, (G-10) Initially, you can only summon a limited number of Trusts to the battlefield at once. But reaching certain points in the Rhapsodies of Vana’diel storyline will allow up to a maximum of 5, forming a full party. So definitely don’t miss out on this! For many of fans, Final Fantasy XI is a game dear to their hearts. It’s a burning passion that’s also acknowledged by the game’s developers with regular support and monthly updates. And there’s always something to do in Vana’diel, for adventurers of any kind.
